Showing posts with label refurbishing. Show all posts

Wednesday, February 8, 2012

Table Refurbished with Paper Decals


My next door neighbors used to rent a house in Athens,GA to UGA students. Some tables were left there, no one claiming them. So they gave them to me.


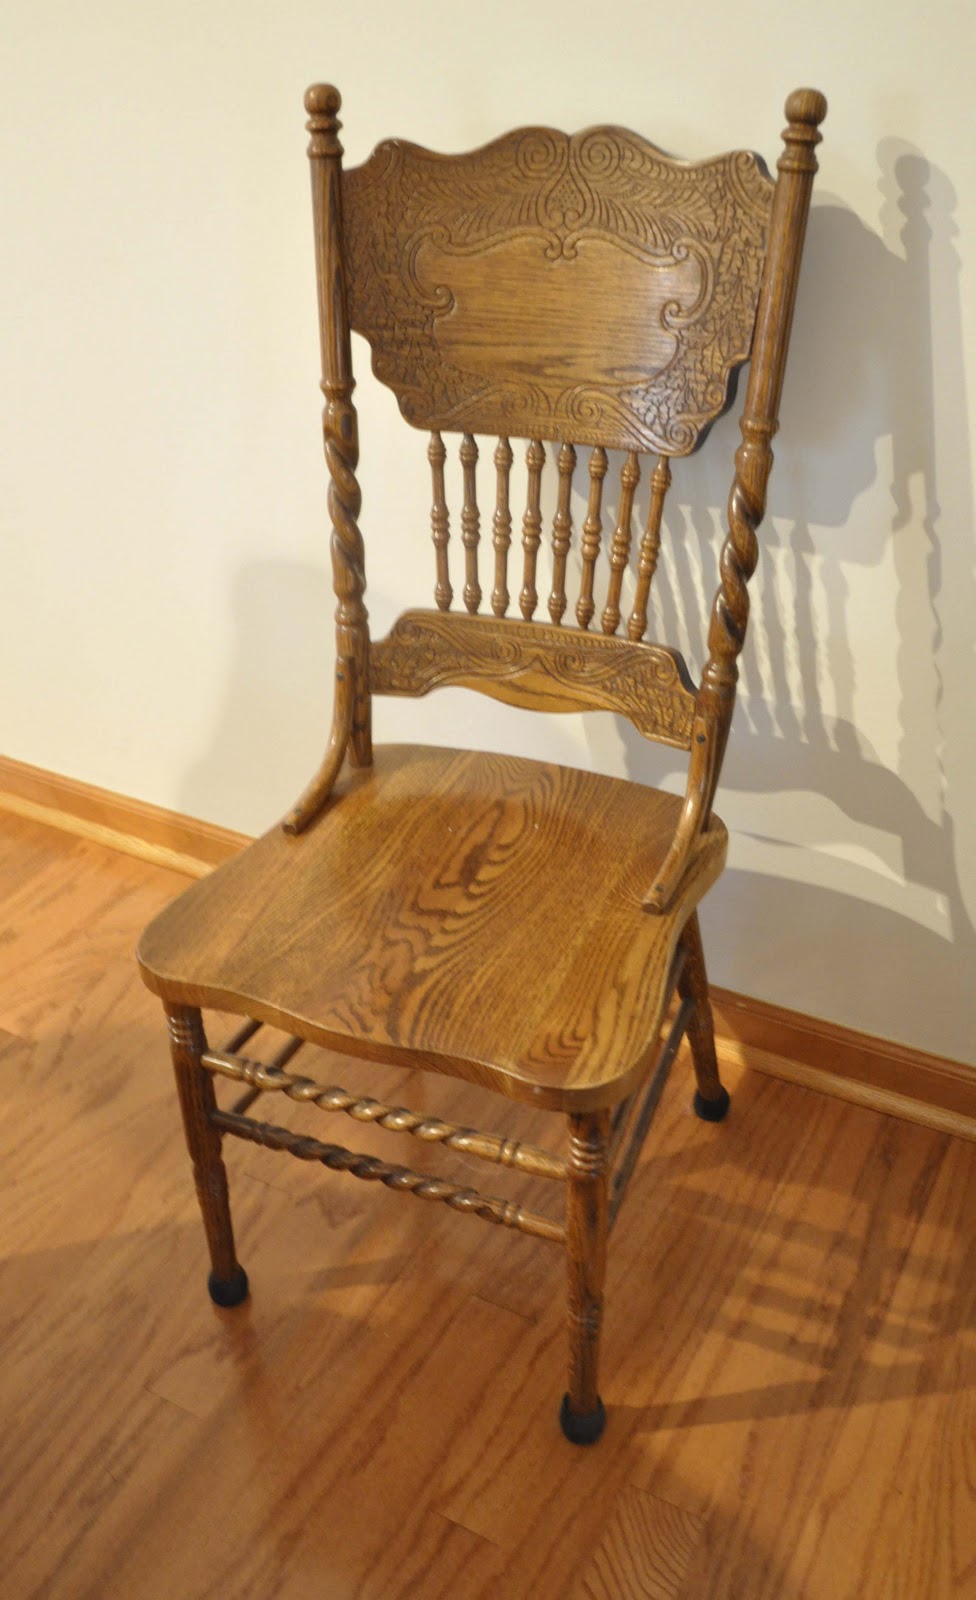
Here is the before; not in too bad shape, sturdy hard wood. I just sanded it all over.


Except this burn hole, probably a cigarette? I sanded quite a while and it was still deep so  Jim filled it with wood putty, the kind that you can sand when dry.

 That did the trick. Then I painted the legs an almond color, an oops paint from Lowes's that I got for $2.50.
The top was painted the same as I did my chairs, recently,
another oops paint, called "Birds Nest", also from Lowe's.
Since I "made" my version of chalk paint by adding a couple of tablespoons of baking soda, I only had to use one coat on the legs, two for the top.


If you are a follower you might remember a previous post when I tried to do these images on a tea towel and I got the "kind" upside down. I am using this same design for my friend, Linda. This has special meaning for her.

This is the first time I have used decal paper. I got the inspiration from Tammy at Simple Southern Happiness. Go Here


        1.Print your image on the shiny side of the paper.

2. Cut it out as close to the image as you can.

            3. Soak in a bowl of water for about 60 seconds or until the backing  pulls away from the decal.

              4. Carefully, remove the decal and place where you want it to be.

          5. Using your finger tips, smooth the decal out,       removing any bubbles.

          6. Let dry completely. Then you may spray with a polyurethane to protect it.
                                    
Voila!


Although it is hard to see in the photos, the decals tore a bit. I was able to fix it but it doesn't look perfect. Maybe after more practice I will get it down. :o)


For Decal Paper, here is where I ordered:
Water Slide Decal Paper Link


                  http://www.beldecal.com/inkjet_decals.cfm


I will be linking up to some parties later today.

Monday, January 23, 2012

Graphic Fairy Tea Towels and chair re-do


Hi Everyone! And Happy Monday to you! I sure do hope you are getting off to a good start this week!

You may have read my previous post on my Citra Solve failure. I am not going to give up just yet, but in the meantime, I tried transfer paper. You know, the t-shirt kind, that you iron on? It worked great on these flour sack tea towels that I got from Target last week. And of course, I went to the Graphics Fairy for my image.


And I just finished painting one of 4 chairs that my friend, Donna, gave me a few years back, along with a round pedestal table. Stay tuned. I will be working to get the rest done soon.


I just love this color. Remember, I got it for $2.50 in the oops section at Lowe's?
 At the suggestion of one of my online buddies, I mixed baking soda into it, to create my kind of chalk paint. It worked for me, but I am surely not an expert in paint.


I purposely didn't fill in the carved decorations. I just think it adds to the "look".


The color is "Birds nest" by Valspar. I love it. It is sort of a greenish gray.


This is the before. Pretty chair, but I wanted to paint for a different look.


After


Thanks for visiting me! I will come see you soon!

Blessings!

♥Charlotte

Linking to these wonderful parties:
you are talking too much

The Graphics Fairy

Saturday, January 14, 2012

Part 2 of my sewing table - FINI!


Hi Blogging Buddies! Although this table didn't quite turn out the way I expected, I learned a few things.

1. Nothing is as easy as it seems.


2. Citra Solve, a great product, doesn't do well on painted wood. When I used it to transfer a laser print, it actually "bubbled" the paint. That is a technical term. You knew that.
And  the ink ran, a lot.


3. Listen when a fellow blogger says she doesn't think that a laser print will work well on painted wood. I never listen...I just go ahead and do it anyway. I know, I am not too smart.


4. Distressing and a little dark wax can hide a multitude of errors.

Since the transfer was really pale, I had to use a paint pen to fill in the letters.
For the girl with her dress pattern, I had to go to Hobby Lobby and find a fine point artist pen and painstakingly go over each little line that I could detect. And it didn't look too bad. 


It is good to learn from your mistakes, right?

Now, on to those chairs in my sun room next!  See you soon!

Have a wonderful weekend!

♥charlotte